
First, select a portrait you like, can be color or black and white.
(I choose black and white cause black and white is more challenging
and I have more space to imagine the color)

First put the portrait to your art board.

Lower the opacity of your portrait, so you can draw trace out the basic shape
of your character.

Tracing the basic shape of the character.

After finish the tracing, open a layer and start to select
color that you want as color pallet layer.

Keep opening and closing the portrait, to see the color and shadow.
So you can color the portrait more accurate.

Now for the lips.

The eye.

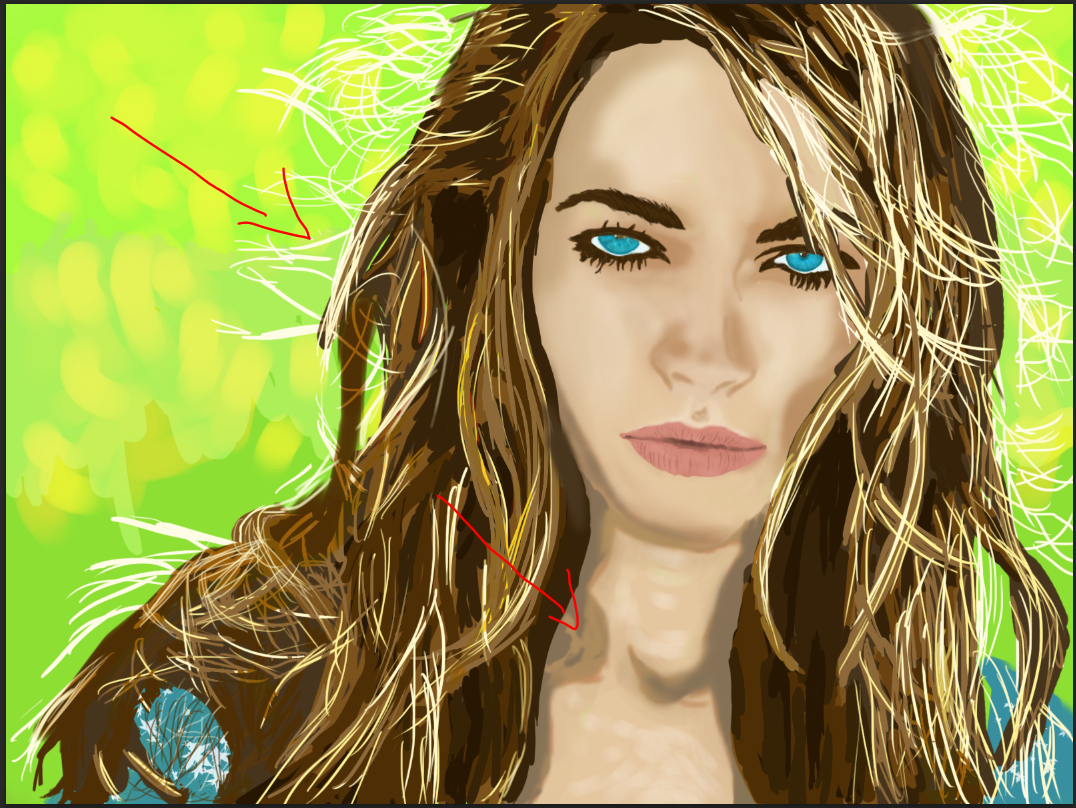
The neck and shirt.

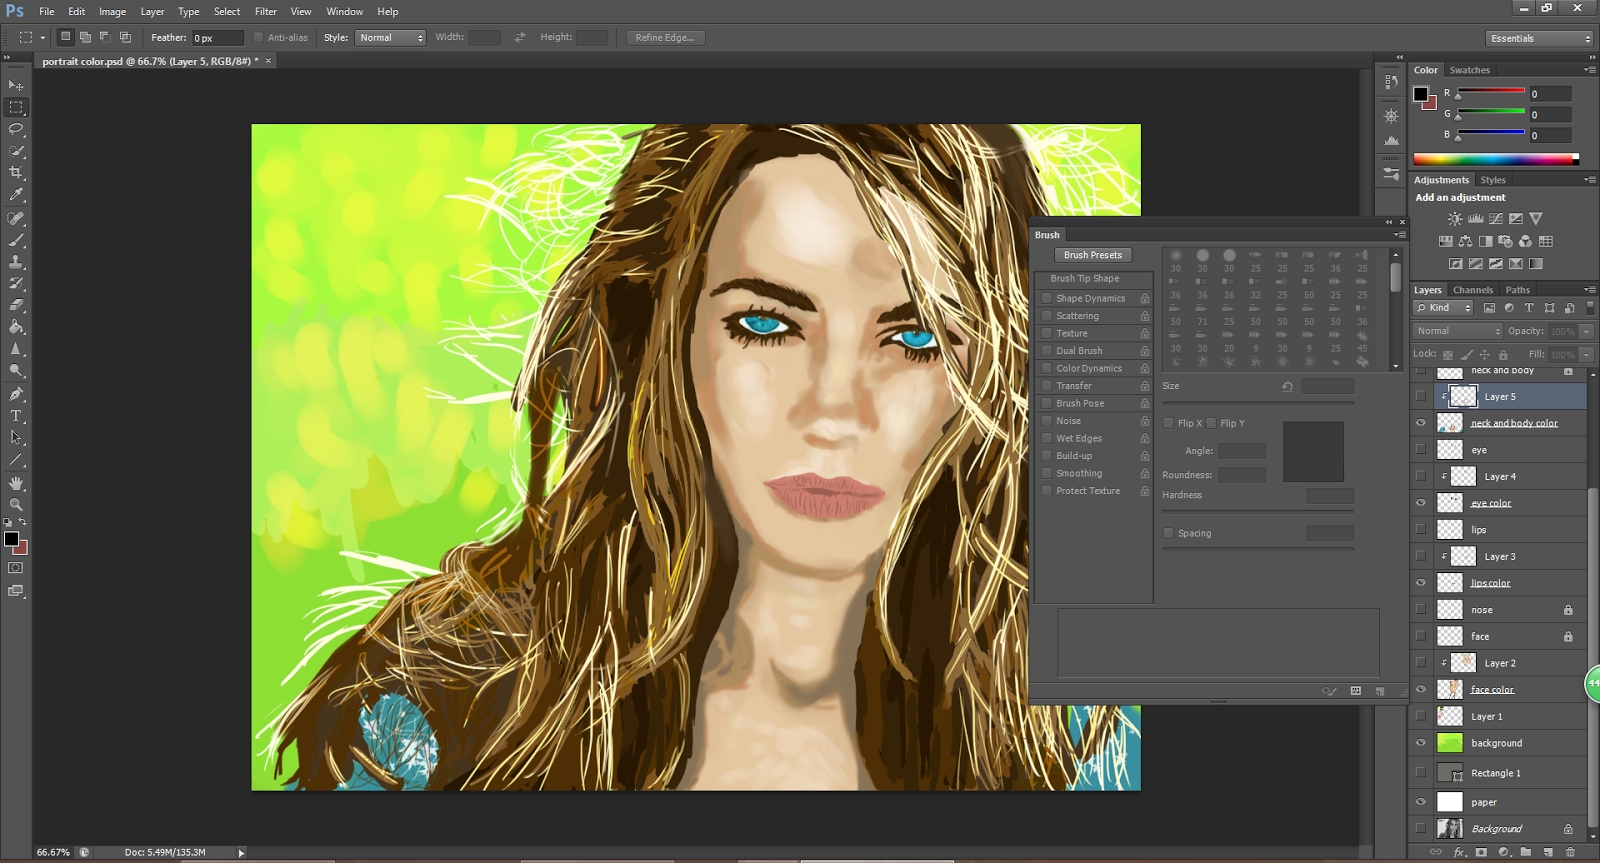
The hair.

Add a background for your portrait.

Add some light effect on the portrait.

now is done.
comparison with original photo

3D portrait

Now starting with the 2D portrait, we gonna make it 3D.

Close the light effect layer.
And close the all the outline layer.

Now add clipping mask layer between the color layer and pick the same color as the layer
and use the brush to slightly brush on the clipping mask layer.

As you can see a big difference at the face after adding the clipping mask layer.

The lips also do as the same as just now, add a clipping mask layer and slightly brush
the lips with the same color at the clipping mask layer.

You can see the difference.

The eye.

The hair and neck.


After finish it, open back the light effect layer.

comparison with 2D

No comments:
Post a Comment