Friday, April 29, 2016

Final Assignment (part 2)

Character Design (with background)

Now we move on to the background.

first we sketches out what we want.


now trace it with the sketches in another layer.


color it.


now add the subject inside the artboard in another layer.


Create a background at another layer.


Now, we add some blood and acid effect on it's mouth, the human face, and the tail.


now add some smoke effect at the burn place.


add some shadow.


add some light shadow beside the center of the object.


now add some flash light effect.


And is done~

Final Assignment

Character Design


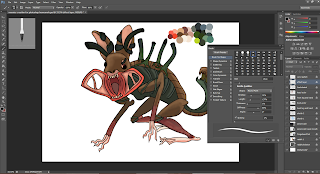
Character
 
First, find a bunch of reference for your character. 

now do the first sketches.


I do 2 more sketches to make it more better.


this is the third sketches.


After the third sketches, I started to pick the color by opening a new layer.


first I color the head.


then the body.


now for the left arm and leg.


Then, for the right arm and leg.


finish it off with some details.


and done~~~

Character (front view)

Now for the front face part.i taking the previous head because is not much changes.


now sketch for the body.


after sketching, now gonna trace it.


after we trace it, we start color it as the same color as the original one.


now make the object larger.


 And is done~


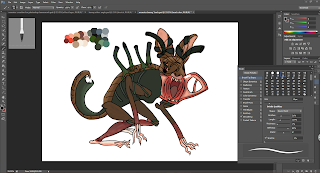
Character (Back view)


Now move to the Back view of this monster.


i trace it the whole body and simply change a bit on the head and tail part.


choose the exact same color as the original one.


I copy another original monster bunny and put it at the back, so the 
coloring will be more easy.


and paint the back of the head with different color in other layer.


And is done~

Environment Design

Cave


First we start with a rough sketch.


open another layer as the front rock layer.


Now for the second layer rock and surface


Now for the back layer of rock.


Now the human with torch.


This is also a mat painting art, so i choose a cave rock surface, and use quick selection tool
to select the part you want and copy.


After copy the part, paste it at the art board with another layer.


Use the seleection tool(V) to select the object and press CTRL+T, right click
and you have an option to warp the image until the desire shape.
Choose different surface to paste it on other part.


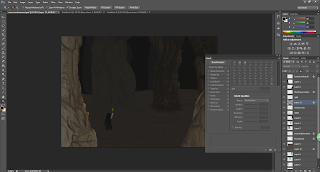
after finish all the paste and warp, now darken all the rock surface with black color in low
opacity and brush it.


Now paint the human with color in other layer.


After painting the human, we need to get the place dark.
So I painted the third layer rock surface with black with low opacity.


And then, I paint another black with low opacity between the front rock layer
and second rock layer.


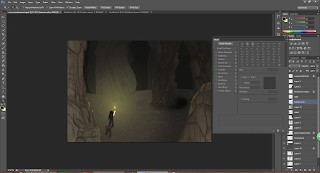
And for the final touch, we use a light yellow and reduce the opacity and 
make a circle shape around the fire, and add some shadow.


and is done.

Atmospheric Perspective

Atmospheric Perspective : City


first, pick all the city shadow that you need to use.(need 3 to 4 of them)


the first layer must be clear, so is remain dark.


the second layer of the city should be more far, so lower the opacity for the second layer.


The third one is further away so, do it like the previous step, lower the opacity.


add another layer at the back.


now add the ground color.


add the sky as night time with dark blue.


Add some detail.


done.